Showing posts with label cakes and cupcakes. Show all posts

Monday, August 20, 2012

Fondant Giraffe


I made this giraffe for a baby shower cake.  It took so long, but was so fun.  I was stressed about the creation of the 3-D giraffe, but I found some idea's online, and found a super cute one on Bronnie Bakes website.  Here's my version.  Just start with a big ball of fondant, and a small ball of gum paste, and mold them together, so that the 3-D figure dries hard. 
Using your hands, roll into a cone shape. This is the body.

Stick a toothpick on top, this will hold the head in place.

Make the dent to create a spot for the eyes.

Small circle cutter creates the outline for the mouth.

Disassembled head:)

Assembled head:)

Ears, which I just formed by hand, and used a fondant tool to make indent.

Attach using a small dab of water.


Roll 2 small balls for the legs, and you'll repeat the same process, slightly smaller for the arms.


The top part is slightly flat to make it easier to attach onto giraffe. Again, use water as glue.


Use icing spatula to make "hooves"


I rolled out some brown fondant for the spots. I made the spots using different edges of the small giraffe cutter you see in the picture.

So cute!

Wednesday, June 20, 2012

Gender Reveal Cake


My friend Mollie is expecting her first baby!  She decided it would be fun to reveal the gender to her family using a gender reveal cake.  I have not made one before, so we decided to create one together.  This was my first time "cake-creating" with someone else...it's a lot more fun!

 We started with mixing white cake mix and adding pink, red, and purple food coloring to the layers...because if you didn't guess already, Mollie's having a girl:)

 Here's Mollie adding cool whip to fill the cakes.  We also added a think layer of fresh strawberries.


 We used fondant and a circle cutter to add the colored circles to the cake.  Mollie loves bright colors, so she choose some of the bolder shades, as opposed to the traditional pastels. 

Using the letter cutters to write the cake message. 

It's a girl!  Due September 2012!  Can't wait to meet her!

Happy Gender Revealing :) -Erin

Thursday, May 31, 2012

Farm Cake for my Nana

My Grandma grew up on a farm. She loves to tell stories about milking cows, and running around with her 3 brothers.  The ultimate tom-boy, so she claims!  This year, Grandma gets a fancy farm cake, complete with cows!  She loved it, I think Lily loved it more.  Mooooo!!!


Grandma loves carrot cake, so this cake is just a carrot cake box mix, spiced up with vanilla extract, orange juice, pecans and raisins.  The cake is covered in a "crusting" cream cheese frosting, colored green!

I colored white fondant using brown food coloring for the roof, and red food coloring for the barn.  I free-hand cut the "shingles" into different size squares and rectangles.  I used a cardboard cake round to decide on a good size for the barn, and then cut that free hand too.  At first I started buildg the barn on the cardboard, but soon realized it would be easier just to build it directly on the cake. 

The barn door is made from stripes of white fondant, with black gel dots.  I have small animal cookie cutters, I used these to cut out the cows, and added random brown fondant spots.  


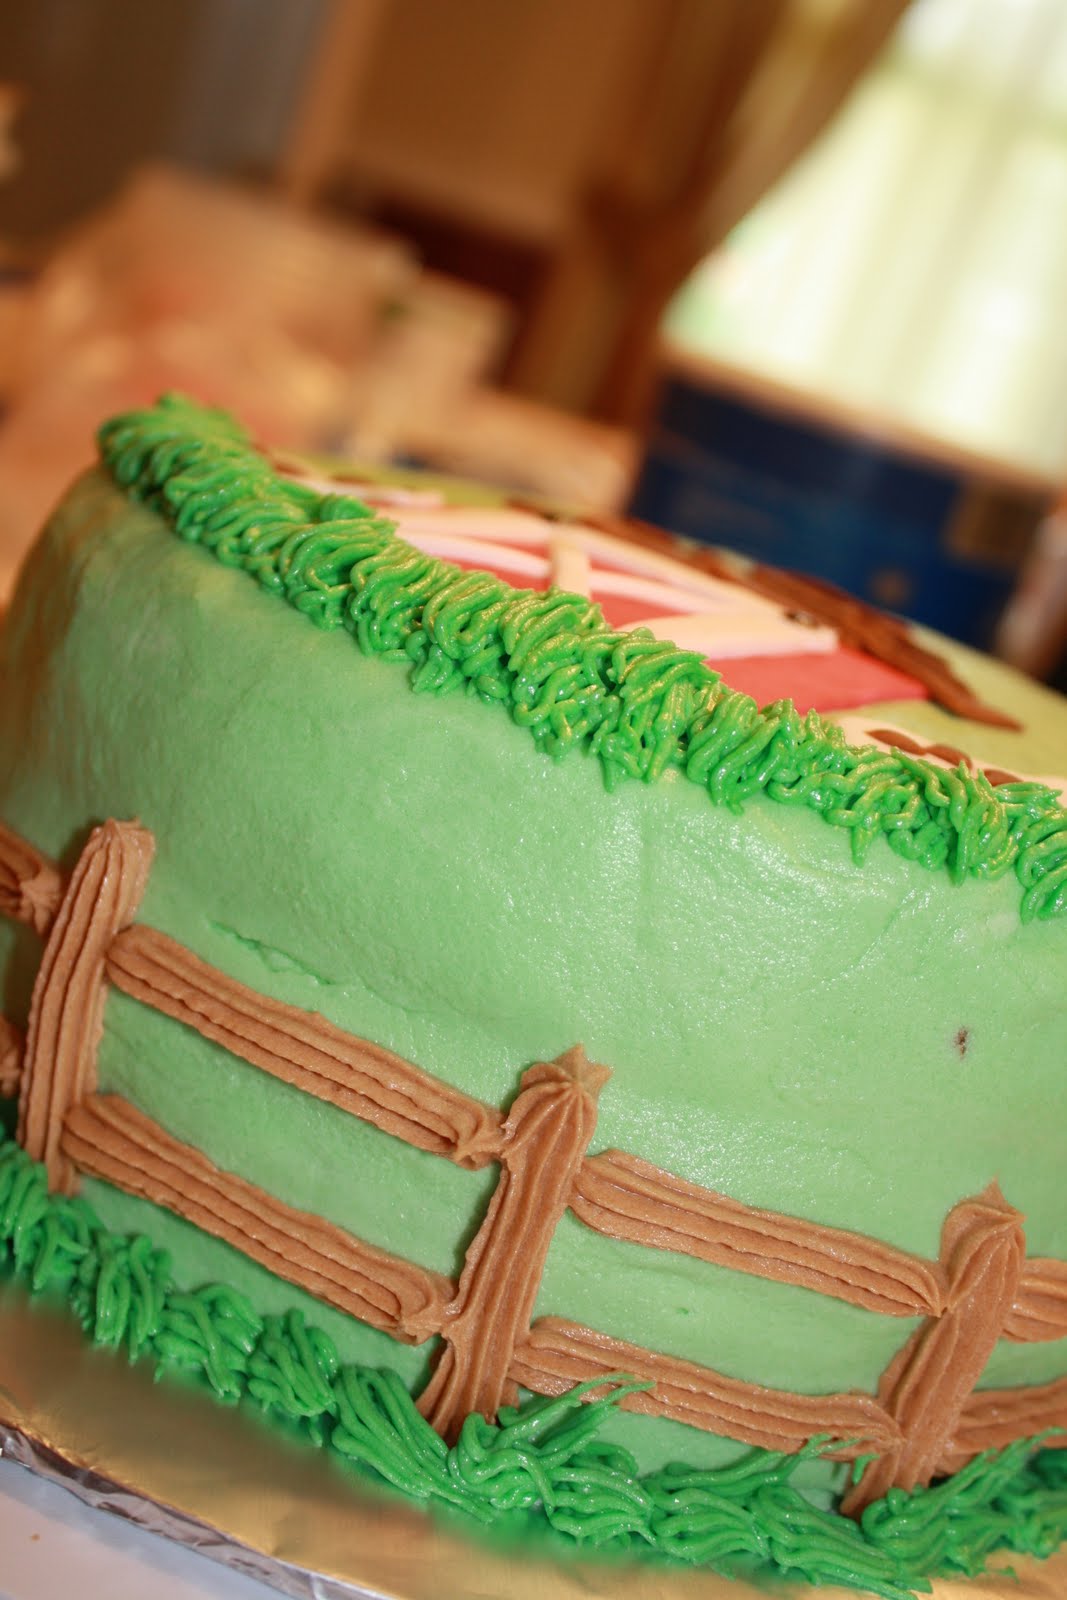
Then the grass with tip #233 and darker green frosting. 
 I piped the fence using a star tip, and brown cream cheese frosting.
Brayden made the little final touches using a small flower fondant cutter.  We used some blue, yellow and pink and added a small dot to the center.  He loveds to help!!

Happy Birthday, Grandma!!

Monday, May 7, 2012

Really Smooth Buttercream- VIVA style and Strawberry Short-cake


Even big girls can love Strawberry Shortcake!
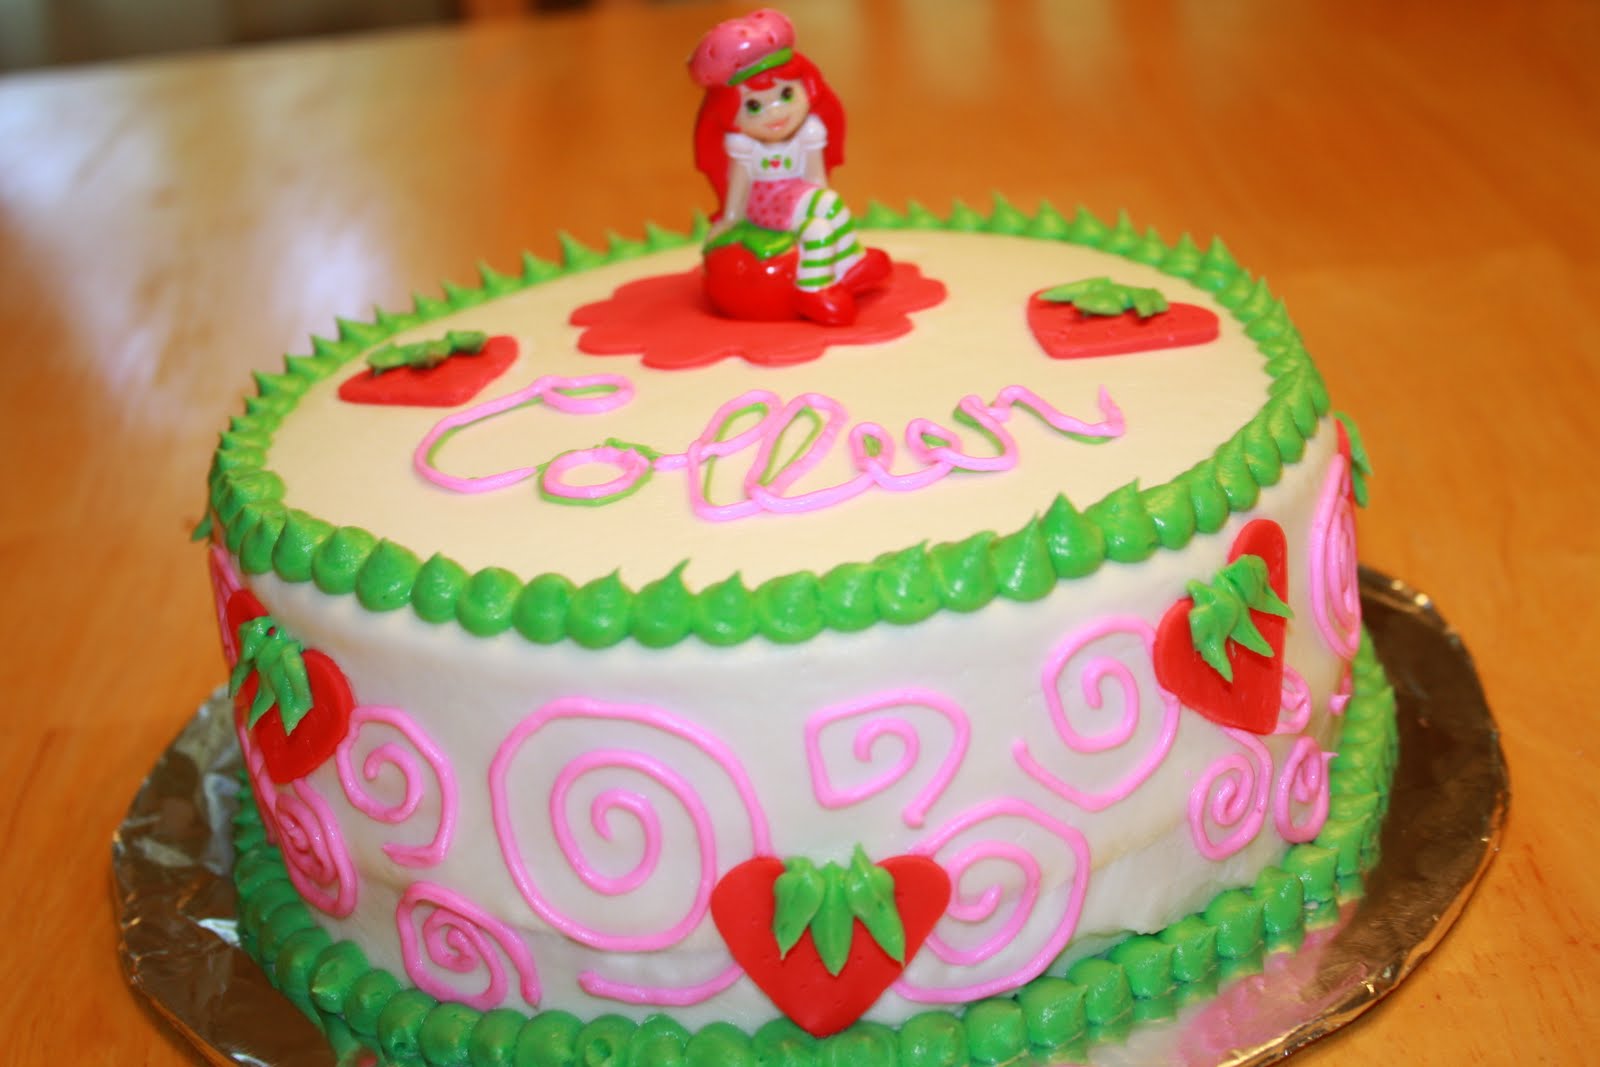
I made a Strawberry Shortcake-cake, for my middle sister's 29th birthday.  I'm pretty sure she's already had a Strawberry Shortcake-cake, but that was about 27 years ago, so I thought it was okay to make her another one!  For this blog, I will share my buttercream recipe (and also pics of the cake). 

In order to make your buttercream smooth, you have to use a "crusting" buttercream recipe.  I've played around with using Crisco, butter and various amounts of milk and water.  Here's the best combo for icing a cake.  Making flowers, and other decorations woud require a slightly more stiff buttercream consistency.  So, add less milk/water, or more powdered sugar...anyway, here's the recipe, and technique!

To ice a 2 layer, 8 inch cake- This recipe yeilds about 2 + cups of buttecream.  I always double this recipe because I use a lot to ice, and decorate. 

1/2 cup Crisco 
1/4 cup  of room temperatur unsalted butter
1/2 tsp clear vanilla flavor extract
1/4 tsp of butter flavor extract
1/8 cup milk (more or less as needed for consistency desired)
1 Tablespoon water
1/2 tsp meringue powder
1/2 of a 2 pound bag of powdered (confectioners) sugar (approx 4 cups)

1.  Mix shortening, soft butter, milk, water, vanilla, and butter flavors.  Mix until this is creamy. 

2.  Add meringe powder and powdered sugar 1 cup at a time.  Mix on low at first, or sugar will powder out all over you!!

3.  Keep adding sugar, and mix on higher speeds, until it looks smooth and creamy.  It takes about 4-5 minutes to mix it to the right consistency. 


4.  If it's too stiff add VERY small amounts of water, if you then make it too watery, add powdered sugar! 

5.  Ice your cake, top and sides.  Don't worry about trying to smooth it completely.

6.  After you finish icing your cake, let it stand for 15 minutes.  After that, gently touch it with your hand.  If it is not sticky, and your hand can glide smoothly over surface, it's ready for the "paper towel" smoothing technique.

7.  Take a piece of Viva brand paper towel, and lay it on top of your cake.  (Viva has no patterns or color) With your fingers gently smooth your hand over the cake.  Once you smoothed an area, gently remove towel, and move it to another spot.  Keep repeating this until the whole cake is smooth.  Start on top and work down to the sides.  I use my bent index finger to smooth around the edge of the cake. 


Decorating the cake...

I decorated the cake using buttercream dots, and swirls. My buttercream was getting too soft for the dots, but it was perfect for the swirls. 


The "strawberries" are made from a mini-heart cookie cutter, and then I added leaves with a the leaf tip.   I stole the little Strawberry figure from Lily's toys:)  And that's about it!! 
Happy Birthday, Sis!


Happy Berrycake-making! -Erin

Sunday, April 15, 2012

Easter Rainbow Cupcakes


I spend a lot of time decorating the outside of cakes and cupcakes, but I never think to much about the interior.  It should be moist and delicious of course, but as long as I bake it completely, I don't put much more thought into it.  I don't make cake from scratch, and I have no cake loyalty....Betty, Dunkin, Dough Boy...whoever is on sale!  On one of my Pinteresting evenings over the weeks preceding Easter, I noticed everyone posting Easter crafts, and desserts (which I had done none of).  I also noticed a post for someone making a rainbow themed birthday party.  I am done throwing parties until next winter, so I can't steal the rainbow party theme, BUT that doesn't mean I can't make rainbow cupcakes...I will just use Easter colors, and they will be Easter cupcakes!!  Well, come to find out this idea was not original, as others had already created "Easter rainbow cupcakes."  Someday, I will come up with some creative treat all on my own, until then, here's some Easter cupcakes, Erin-style:)

This is Classic White, Pillsbury box cake mix, divided into 3 bowls.  I had my kids pick out 3 colors from a few options I gave them.  I only added about 3 drops of gel food coloring, so that my colors would be pastel.  Brayden choose green, Lily picked yellow and pink. 


When I "craft" I can't do it alone... if my children's eyes are open.  They will NOT leave me alone, so regardless of if I want their help or not, I'm getting it.  Brayden is the cleanest 4 year-old I know.  Lily is a typical, messy, loud, quick-moving 2 year-old, and can create a mess as fast as you blink your eyes.  I-never-learn... she had this yellow batter up and over the entire circumference of the glass bowl with 1 single rotation of the spoon.  And then puts her whole face to the table, to lick it up.  Mmmmmm cake!

our colors
I put each different color in a 1 gallon plastic Ziploc bag and cut and VERY small hole in the tip.  Cake batter comes out super fast (compared to icing) and if you are trying to layer the colors, you want it to come out s-l-o-w-l-y. 
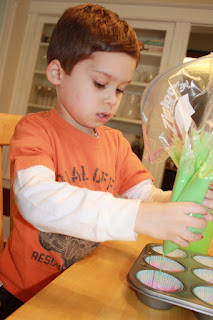


Ohhhh quick, Lily is watching Lion King, we can put the batter in the cupcake pans without her "help."  Brayden did the green, mommy layered pink and yellow. Add a very small amount of each color.  Remember you're still only filling about 2/3rds of the cupcake tin, or you'll have overgrow when you bake them. 

Well, Lily is back, but Simba distracted her long enough for me to finish filling the pans.  She was so excited to see all the colors!


Here's the "after" baking picture.  I liked how they looked better, un-iced, however, my kids don't eat the cupcake- just the icing- so if I wanted to share these with them, they had to be iced.  
 I did not come up with anything creative at all in the icing part. I didn't even make it from scratch. I piped it with a tip and added Easter sprinkles!  And then immediatly ate 2:)
Happy cup-caking! -Erin

Monday, April 9, 2012

Various cakes and cupcakes

As I've mentioned, I took a few cake decorating classes at Michael's art store, and now enjoy making cakes and cupcakes for family parties.  I love it!  Here are a few things I've made this year!
I made these peanut butter-chocolate, pumpkin cheese cake, and chocolate cupcakes for a good friends baby shower.  She was having a co-ed shower, so we wanted something not too girly.  It was also a fall shower, so we went with this color scheme.  The peanut butter chocolate ones were the best!! 


Above are the cakes I made during my cake class.  There are various styles and piping techniques.  All the cakes are covered in buttercream, and have either buttercream, or Royal icing flowers. 


Here's the cake I made for my brother-in-laws birthday.  He is a big Syracuse fan, hence the decorating choice.  The cake is is frosted in buttercream, the "S" is fondant.  I made the sign because I wasn't allowed to write "happy birthday" on the cake! 

My youngest sister Chelsea's birthday cake.  Her request was spice cake with buttercream.  I decorated it with fondant flowers.
My mom's cake was my favorite so far!  Mint chocolate, so yummy!  The cake is chocolate, the icing on top is chocolate, and the layers on the inside are green, mint buttercream!  The flowers are Royal icing stolen from Lily's Tangled cake.  Reduce, Reuse, Recycle:) 

Happy Cake Making- Erin