Monday, August 20, 2012

Fondant Giraffe


I made this giraffe for a baby shower cake.  It took so long, but was so fun.  I was stressed about the creation of the 3-D giraffe, but I found some idea's online, and found a super cute one on Bronnie Bakes website.  Here's my version.  Just start with a big ball of fondant, and a small ball of gum paste, and mold them together, so that the 3-D figure dries hard. 
Using your hands, roll into a cone shape. This is the body.

Stick a toothpick on top, this will hold the head in place.

Make the dent to create a spot for the eyes.

Small circle cutter creates the outline for the mouth.

Disassembled head:)

Assembled head:)

Ears, which I just formed by hand, and used a fondant tool to make indent.

Attach using a small dab of water.


Roll 2 small balls for the legs, and you'll repeat the same process, slightly smaller for the arms.


The top part is slightly flat to make it easier to attach onto giraffe. Again, use water as glue.


Use icing spatula to make "hooves"


I rolled out some brown fondant for the spots. I made the spots using different edges of the small giraffe cutter you see in the picture.

So cute!

Wednesday, June 20, 2012

Gender Reveal Cake


My friend Mollie is expecting her first baby!  She decided it would be fun to reveal the gender to her family using a gender reveal cake.  I have not made one before, so we decided to create one together.  This was my first time "cake-creating" with someone else...it's a lot more fun!

 We started with mixing white cake mix and adding pink, red, and purple food coloring to the layers...because if you didn't guess already, Mollie's having a girl:)

 Here's Mollie adding cool whip to fill the cakes.  We also added a think layer of fresh strawberries.


 We used fondant and a circle cutter to add the colored circles to the cake.  Mollie loves bright colors, so she choose some of the bolder shades, as opposed to the traditional pastels. 

Using the letter cutters to write the cake message. 

It's a girl!  Due September 2012!  Can't wait to meet her!

Happy Gender Revealing :) -Erin

Thursday, May 31, 2012

Farm Cake for my Nana

My Grandma grew up on a farm. She loves to tell stories about milking cows, and running around with her 3 brothers.  The ultimate tom-boy, so she claims!  This year, Grandma gets a fancy farm cake, complete with cows!  She loved it, I think Lily loved it more.  Mooooo!!!


Grandma loves carrot cake, so this cake is just a carrot cake box mix, spiced up with vanilla extract, orange juice, pecans and raisins.  The cake is covered in a "crusting" cream cheese frosting, colored green!

I colored white fondant using brown food coloring for the roof, and red food coloring for the barn.  I free-hand cut the "shingles" into different size squares and rectangles.  I used a cardboard cake round to decide on a good size for the barn, and then cut that free hand too.  At first I started buildg the barn on the cardboard, but soon realized it would be easier just to build it directly on the cake. 

The barn door is made from stripes of white fondant, with black gel dots.  I have small animal cookie cutters, I used these to cut out the cows, and added random brown fondant spots.  


Then the grass with tip #233 and darker green frosting. 
 I piped the fence using a star tip, and brown cream cheese frosting.
Brayden made the little final touches using a small flower fondant cutter.  We used some blue, yellow and pink and added a small dot to the center.  He loveds to help!!

Happy Birthday, Grandma!!

Thursday, May 24, 2012

Candy Shoppe Party


For Ella's 1st Birthday, I thought it would be fun to do a "Candy" themed party.  I had a lot of fun fusing my ideas with those that I found on the internet.  I always start with a couple of details and the rest of the party sort of takes shape from there.   In this case, there were so many elements that I had in mind, that all I really had to do was find a common thread to tie them all together.  I think it was sticking with the bright pink color to incorporate everything.  I found these great vinyl table cloths on clearance at Target for about $1.50 each.  I loved them, and they were perfect for the old fashioned candy shoppe that I had in mind.  I spent most of my time working on details for our sweets table.


For this, I spent quite some time making the decorations.  I used my Mom's die-cut machine to make the "Ella's Sweet Shoppe" sign.  Above that I hung candies that I made using foam balls and tulle with ribbon to tie the ends.  To line the path walking up to our house, and on the wall behind the table, I made big lollipops.  I used two plates, stapled them together and covered them in colorful tissue paper and tied the ends with curling ribbon.  I inserted a long dowel, and wala! they were lollipops!  The little white boxes were lined with tissue paper, and they were for the children to fill up with sweets.  I also included a jar of colorful toothbrushes that I found at the dollar store-to keep those baby teeth clean! I found cute cones at my craft store, and wanted to figure out a creative way to use them.  I decided that filling them with cotton candy would be perfect!  I found the top of a box, and cut holes in it to make spots for the cones to sit in.  I was so happy with how my sweets table came out! 


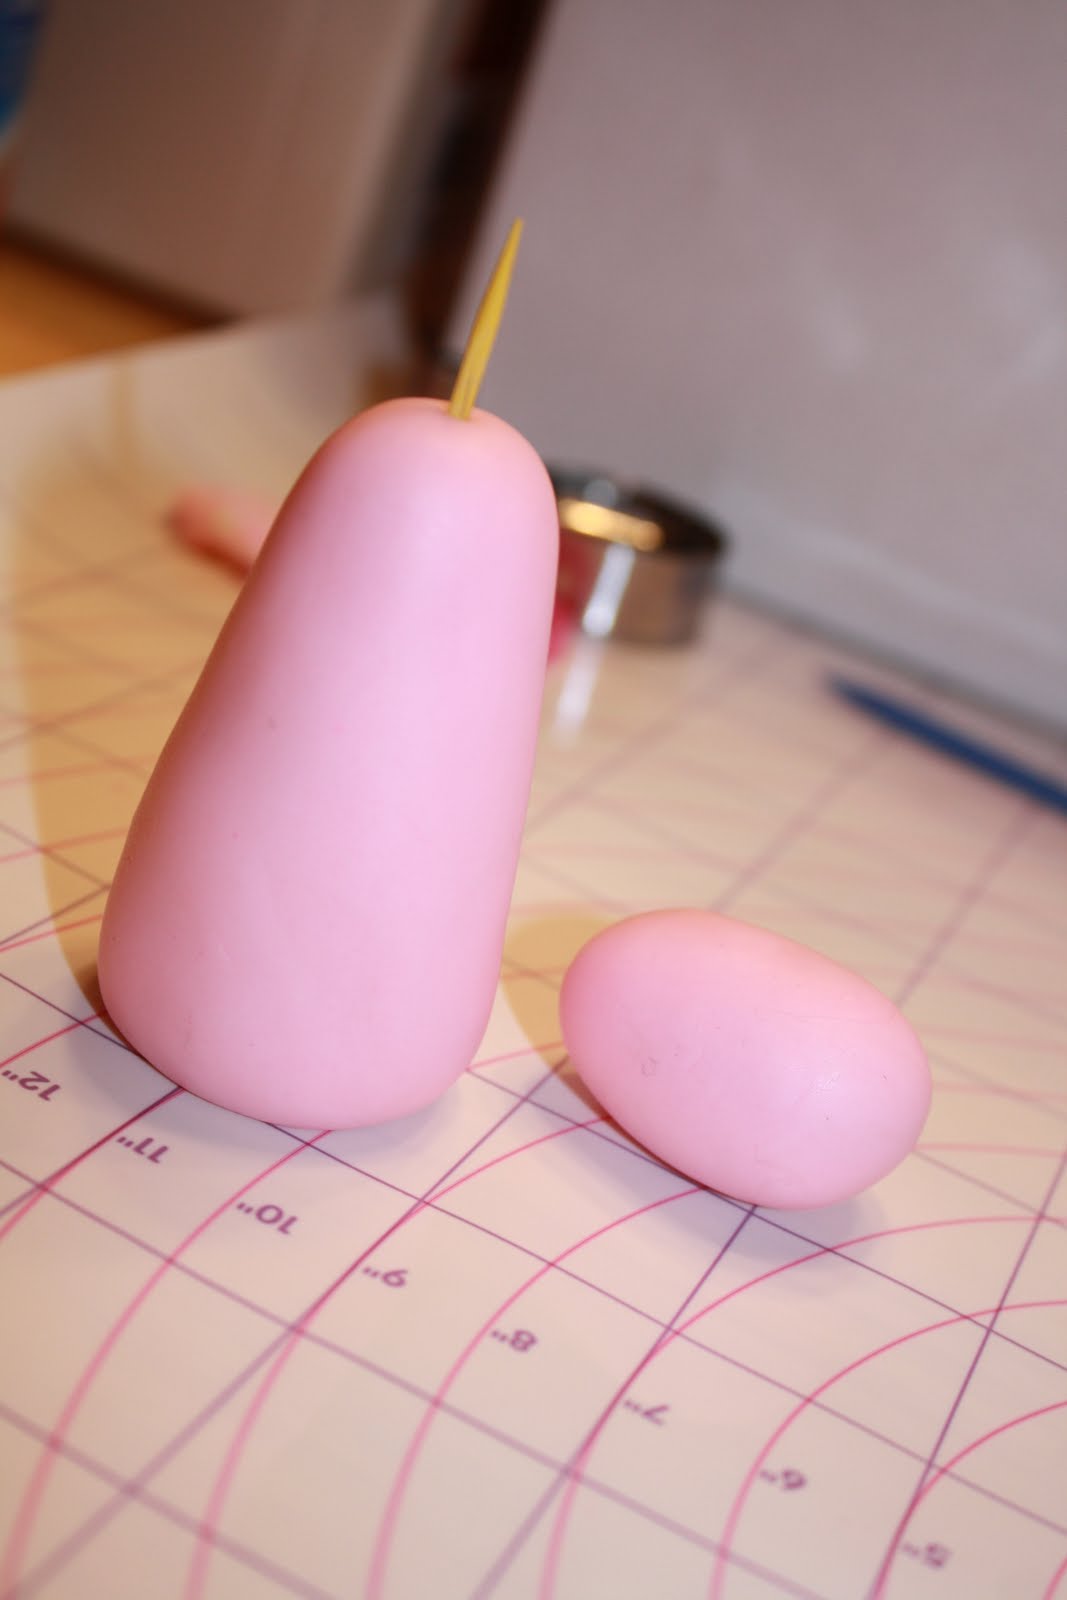
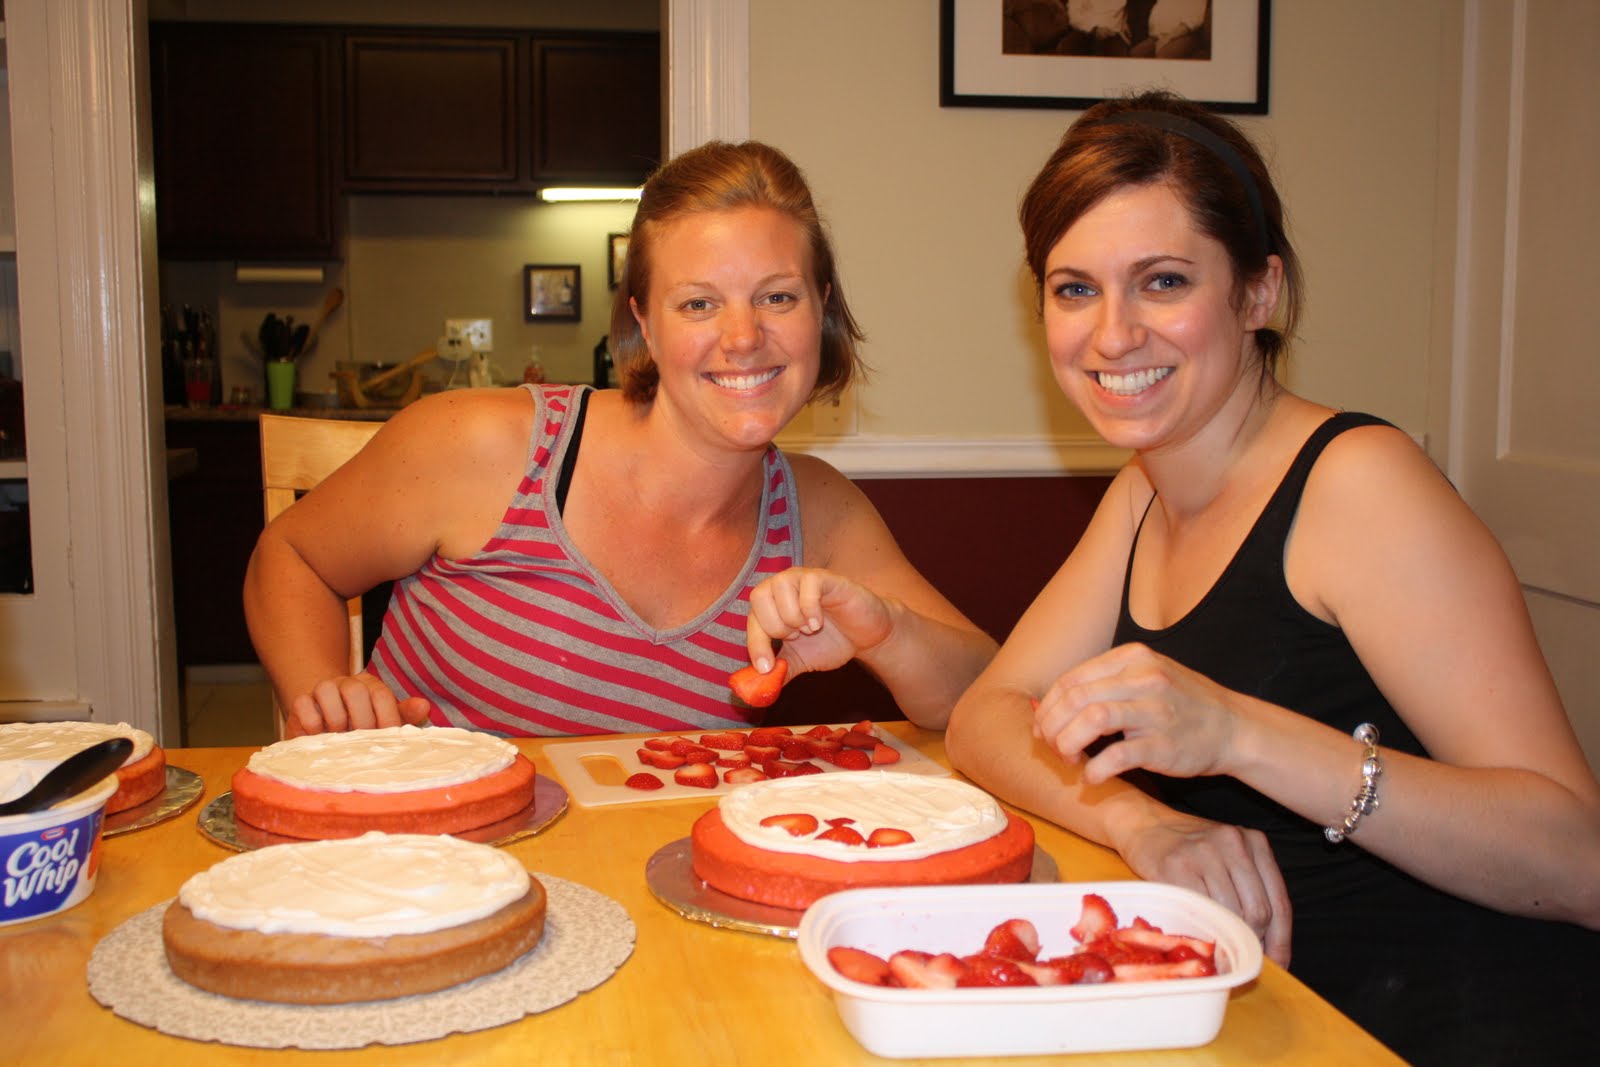
Cakes and cupcakes were easy to make for this party, and still looked adorable! Ella's smash cake was chocolate, and iced in pink (canned) frosting.  I used gel colors to make the dots on her cake, and placed the little swirl lollipops on top.  The cupcakes were also chocolate, and frosted in pink or white.  I used a variety of sprinkles and candies to top these.  I was also thrilled to find brightly colored cupcake liners at my grocery store.  They were perfect!  One thing I really wanted for her party, but did not intend to make was her party hat.  I searched for one to buy online, but was not thrilled with the cost of the hats that I liked.  I decided that I could make one myself.  I purchased a stack of plain hats, cute fabric, a boa, and iron on letters, and went to work.  I used my hot glue gun to adhere the fabric, letters and boa to the hat.   For the cost of about $15 I made my own hat, and had materials left over! (that I have since used again and again!)

This party theme was so much fun, I might even do it again sometime!! 

Happy Candy Shopping! 

-Lindsay


Thursday, May 10, 2012

Homemade Mother's Day Card, By the Peeps


We are having the main level of our house painted this week, and that has meant that I'm trapped in my bedroom with the the kiddos.  This has limited me to what activities we can do.  But, since Mother's Day is this weekend, I knew we'd have to make some cards.  I went pinterst-ing for something cute, quick and easy for 3 kids under 5 to do.  I found a lot of great ideas, but all required more work than I really had time for.  I decided to just do some simple fingerprint bugs, and had Kyle decorate the rest of the card.  Simple and cute!

My peeps working hard
Happy Mother's Day to all the Mommas! 
-Lindsay

Monday, May 7, 2012

Really Smooth Buttercream- VIVA style and Strawberry Short-cake


Even big girls can love Strawberry Shortcake!
I made a Strawberry Shortcake-cake, for my middle sister's 29th birthday.  I'm pretty sure she's already had a Strawberry Shortcake-cake, but that was about 27 years ago, so I thought it was okay to make her another one!  For this blog, I will share my buttercream recipe (and also pics of the cake). 

In order to make your buttercream smooth, you have to use a "crusting" buttercream recipe.  I've played around with using Crisco, butter and various amounts of milk and water.  Here's the best combo for icing a cake.  Making flowers, and other decorations woud require a slightly more stiff buttercream consistency.  So, add less milk/water, or more powdered sugar...anyway, here's the recipe, and technique!

To ice a 2 layer, 8 inch cake- This recipe yeilds about 2 + cups of buttecream.  I always double this recipe because I use a lot to ice, and decorate. 

1/2 cup Crisco 
1/4 cup  of room temperatur unsalted butter
1/2 tsp clear vanilla flavor extract
1/4 tsp of butter flavor extract
1/8 cup milk (more or less as needed for consistency desired)
1 Tablespoon water
1/2 tsp meringue powder
1/2 of a 2 pound bag of powdered (confectioners) sugar (approx 4 cups)

1.  Mix shortening, soft butter, milk, water, vanilla, and butter flavors.  Mix until this is creamy. 

2.  Add meringe powder and powdered sugar 1 cup at a time.  Mix on low at first, or sugar will powder out all over you!!

3.  Keep adding sugar, and mix on higher speeds, until it looks smooth and creamy.  It takes about 4-5 minutes to mix it to the right consistency. 


4.  If it's too stiff add VERY small amounts of water, if you then make it too watery, add powdered sugar! 

5.  Ice your cake, top and sides.  Don't worry about trying to smooth it completely.

6.  After you finish icing your cake, let it stand for 15 minutes.  After that, gently touch it with your hand.  If it is not sticky, and your hand can glide smoothly over surface, it's ready for the "paper towel" smoothing technique.

7.  Take a piece of Viva brand paper towel, and lay it on top of your cake.  (Viva has no patterns or color) With your fingers gently smooth your hand over the cake.  Once you smoothed an area, gently remove towel, and move it to another spot.  Keep repeating this until the whole cake is smooth.  Start on top and work down to the sides.  I use my bent index finger to smooth around the edge of the cake. 


Decorating the cake...

I decorated the cake using buttercream dots, and swirls. My buttercream was getting too soft for the dots, but it was perfect for the swirls. 


The "strawberries" are made from a mini-heart cookie cutter, and then I added leaves with a the leaf tip.   I stole the little Strawberry figure from Lily's toys:)  And that's about it!! 
Happy Birthday, Sis!


Happy Berrycake-making! -Erin

Wednesday, May 2, 2012

Project-Playroom

We moved into our house about a year and half ago.  The previous owners used this as their dining room, but for us, it was always intended to be a play room. It has functioned quite well for us so far.  At the end of the day, we have a place to put all of the kids toys. There are still a few things I'd like to do to make this space work even better for us. I'll take you on a little tour of the room, and talk about what works-and what doesn't! 


One of my kids favorite things to do is color.  The table in here is a (very fortunate) hand me down from Pottery Barn.  It is big enough for a few to color at once, and durable enough for my 2 year old who occasionally uses it as a stage! One area I need to work on is storage for crayons, paper and other art supplies. Currently it is all housed in a large black box-which is a MESS! 
As for drawings and crafts, I have strung up two ribbons above the play kitchen, and we use clothes pins to hang up recent projects. 
The play kitchen holds most of our kitchen accessories.  We also use the shelves under the sink for a book shelf.  I have a few ideas to make each of these places work a bit better! Especially that coloring area!


1.  This is another area that works pretty well for us.  I purchased a rack of hooks to hang all of the dress up clothes on.  Ella got the doll crib for her second birthday, and I love it because it has the cabinets for storage underneath.  It's amazing how much doll stuff can fit in there! Above those on the wall, I made a pin board where we put pictures and invitations we receive from friends and family.  


2.  The storage unit from Target has been fantastic. Erin blogged about this same unit and how it works for her in her house a little while ago. Each bin contains a different type of toy, and it has not only helped keep toys organized, but it helps teach the kids to sort.  It helps keep things in order....sometimes! 

3. This  area DOES NOT work for me-at all!  The kids never ever us this train table.  On the rare occasion that they do play with trains, they build the tracks on the floor.  This table is mainly used to store the trains, and a few other toys underneath it.  It is obtrusive and wastes space.  This is moving out!

Over the next month (or couple of months, if I'm being realistic) I will be working on little projects to make this playroom more inviting, and more workable for us.  We still have toys stored in other parts of our house.  While I don't mind having them in those areas, it does not seem necessary when we have an entire room dedicated to play.  As I work on it, I will share some ideas, how tos, and certainly a few things that didn't quite work as planned.
  

-Lindsay